Username:
B
I
U
S
"
url
img
#
code
sup
sub
font
size
color
smiley
embarassed
thumbsup
happy
Huh?
Angry
Roll Eyes
Undecided
Lips Sealed
Kiss
Cry
Grin
Wink
Tongue
Shocked
Cheesy
Smiley
Sad
123 ->
--
--
List results:
Search options:
Use \ before commas in usernames
Silver Hawk!
Ever wondered what makes a controller work?  I did, and like most things I get interested in I decided to take a few apart to figure out what is happening inside.  My victims were two dead controllers.  One looks sorta like the original Playstation pad, but is a USB controller.  The other is an original white PC Engine turbo controller.  Lets get started, then!

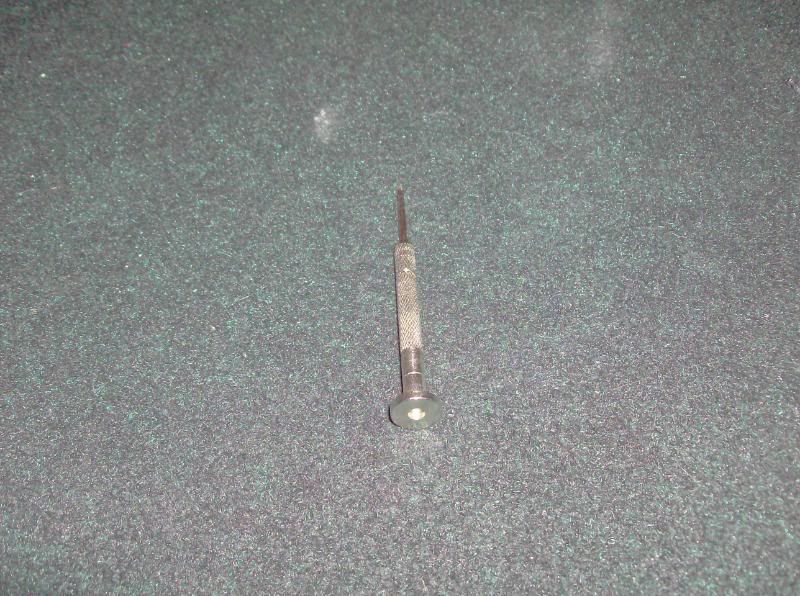
The first thing is to have the right tool for the job.  In this case, I used a very small screwdriver with interchangeable bits.  I like these because the back end rotates; you can push with your palm to keep it in place and it'll still spin freely.


First victim:  Playstation USB controller
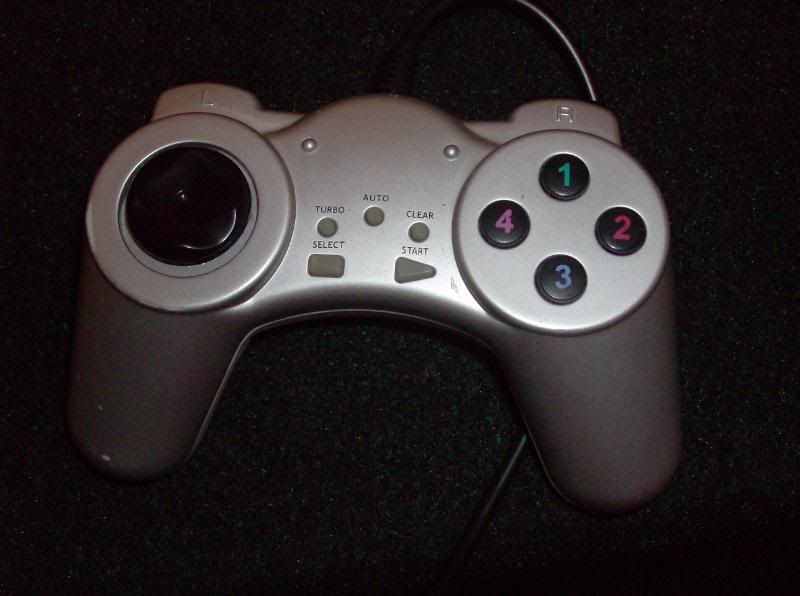


This is a generic controller I picked up at a Target for $2 US or so.  It feels way cheaper than a real PS pad, but the only major difference is the thumbstick and the addition of Turbo, Auto, and Off buttons.  Inside:
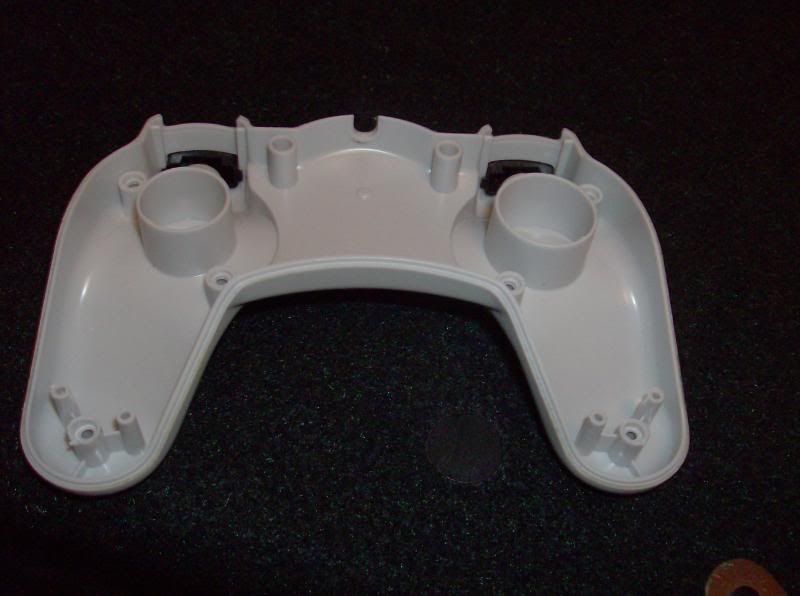


The back is pretty empty.  In fact, the whole thing is empty.  The only posts seem to be the screw posts, meaning all the guts are basically held in by pressure alone.  They essentially float in place; once the back is removed everything falls apart and its a real pain to put this thing back together.  I have never done this to a real PS pad, but I don't think they are quite as cheap/empty.  The other side:
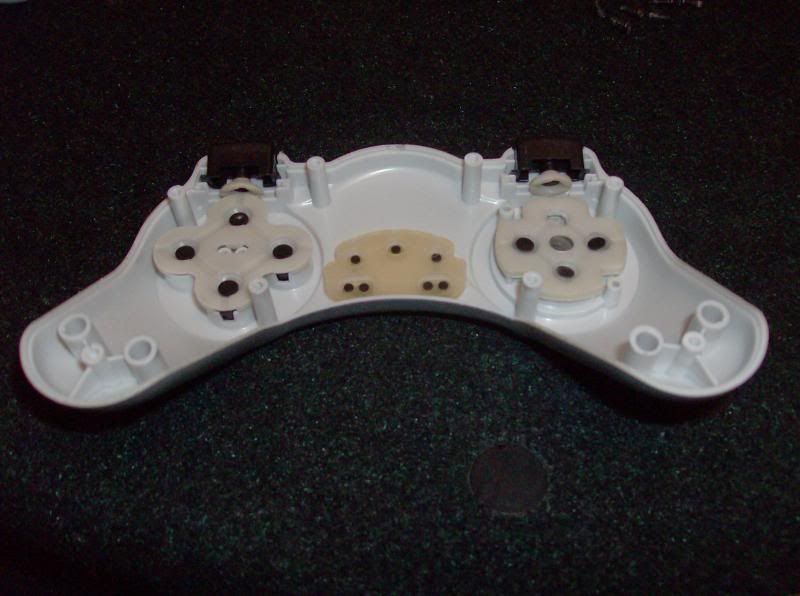


The business side.  You can tell better that everything is just sitting in place in this shot.  The directional rubber and shoulder buttons refuse to stay in place and take a lot of coaxing to sit in the right spot.  The Start, Select, and Turbo/Auto/Off buttons all sit together on a single rubber pad, which is pretty standard.  Make a note of all those black bits; we'll get to that in a bit.
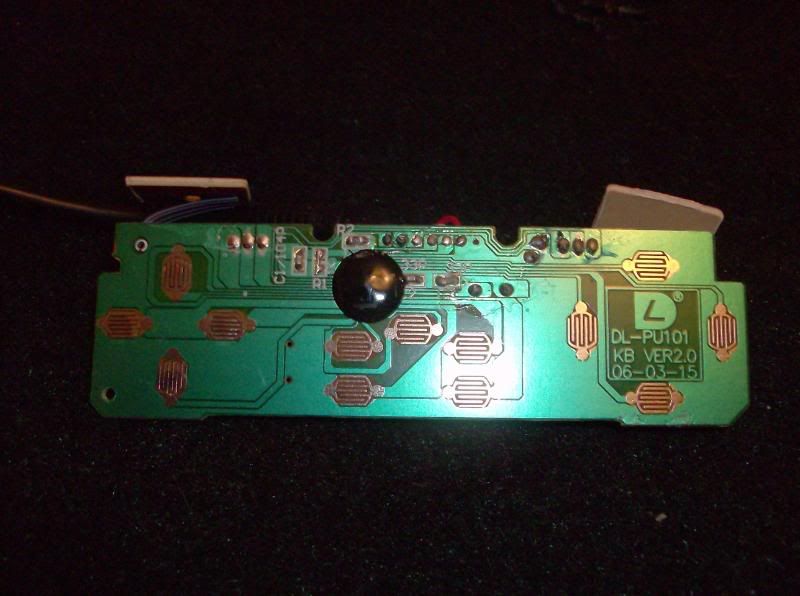


This is the command center of the controller, the circuit board (or "guts").  In this case, the guts are actually relatively small compared to the pad; most of it is just empty space in the pistol grips.  Two little ribbon wires connect the pieces for the shoulder buttons which, surprisingly, fit into little notches in the controller rather than just floating there.  You can see a bunch of little silvery squares in this photo.  Those are the contacts for the buttons.  When you push a button, it pushes down on the rubber pad.  The black bits from before close the contact, and the rubber brings the button back up.  You can actually use rubbing alcohol or other cleaners that evaporate and clean these contacts which can make them more responsive.  Notice how in the pic of the case one of those black bits is missing?  That actually FELL OUT when I opened the pad.  It had completely torn away from the rubber.  Another one did as I put the controller back together, and the other two on that pad were indented and needed to be popped into their correct position.  Essentially, the controller is broken without that pad, but thats OK.  The soldering on this circuit leaves a bit to be desired.  Some spots have dark blobs of solder instead of little shiny dabs, indicating a lack of experience, and the few visible wires are clipped erratically.  The big black circle left of center I am unsure of, but I believe it is the chip that actually tells your computer what button is being pressed.
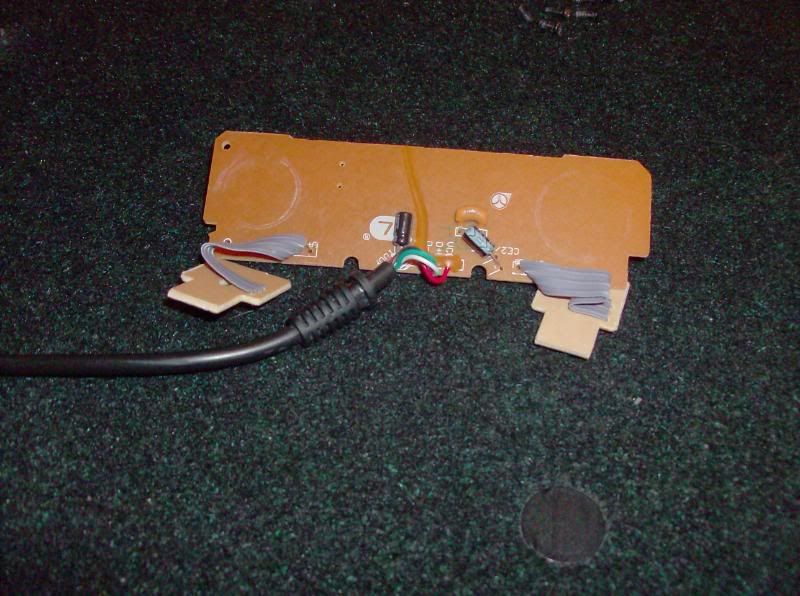


The back is bare in comparison, although the shoulder sections are a bit easier to see.  Also visible is a capacitor (don't touch the wires on these!) but otherwise all the circuitry is on the front side. 
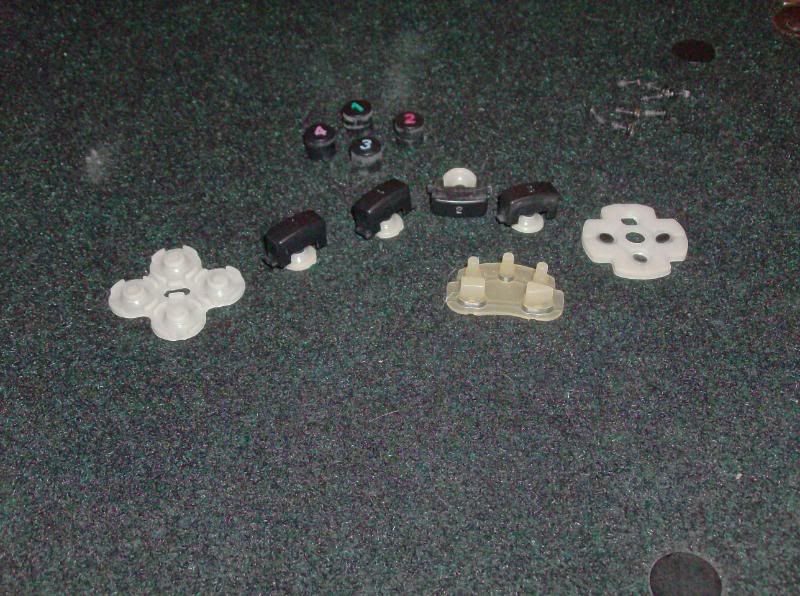


The buttons and pads after being removed.  The iron cross pad is the directional pad, the more + shaped one is for the buttons.  The shoulders are labeled 1, 1, 2, and 2, but it makes no difference as they are identical to each other and 100% interchangeable. 
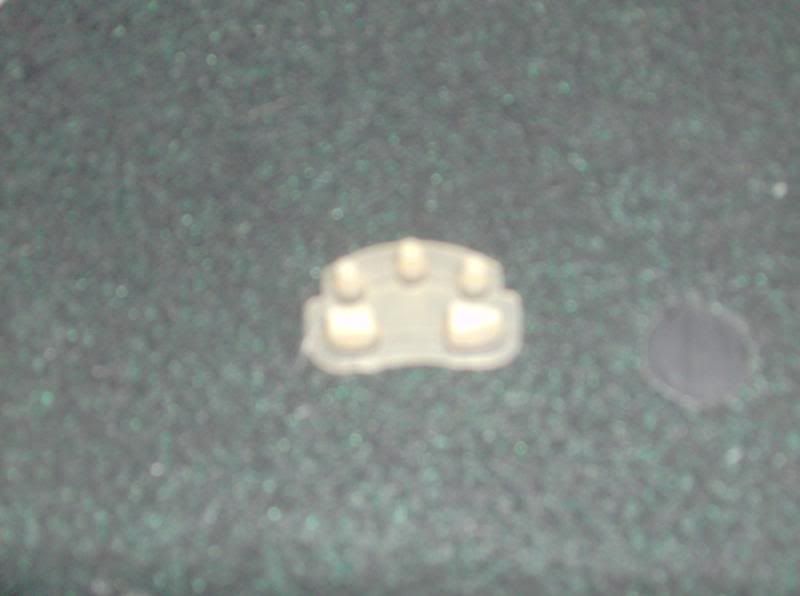


The Start/Select pad.  Pretty simple actually.  This pad was a little weird in that to activate turbo, you would push the turbo button and then the button you wanted to apply it to.  Same thing to turn it back off.  Its a simple design that worked pretty well.  Turbo only seemed to be 12-15 Hz, compared to a maximum NTSC value of 30 Hz, but in most games that I used it for it just saved on button mashing though Darius Gaiden was noticeably different compared to using built-in MAME turbofire. 
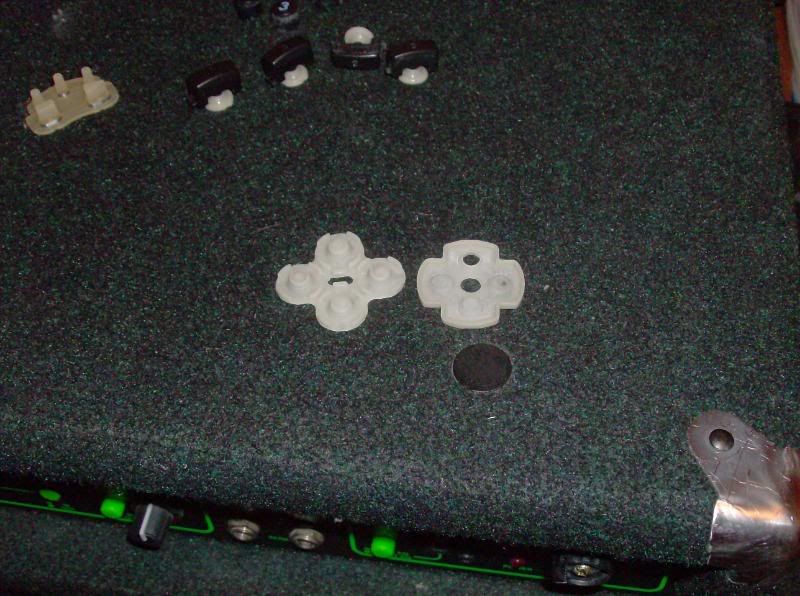


The rubber pads.  Not much to say about these except that you can clearly see where my directional pad is missing a black bit.  It hadn't worked right for weeks before this.

Lets go to our next victim (continued)
Thread title:  
Silver Hawk!
The PC Engine was one of the first real contenders with the Famicom in Japan and managed to be very successful in that country.  In North America, it was called the TurboGrafx-16, but its the same thing.  I don't think Europe ever even got it in any form, though supposedly France saw a very limited release.

The original controllers lacked the turbo switches, but once those were added the controller almost never changed from the original white PC Engine to the CoreGrafx, TG-16, and Japanese/US Duos.  The only thing that would be changed was the faceplate and the TG-16 (not TGDuo) had a larger plug.  Lets see whats inside.


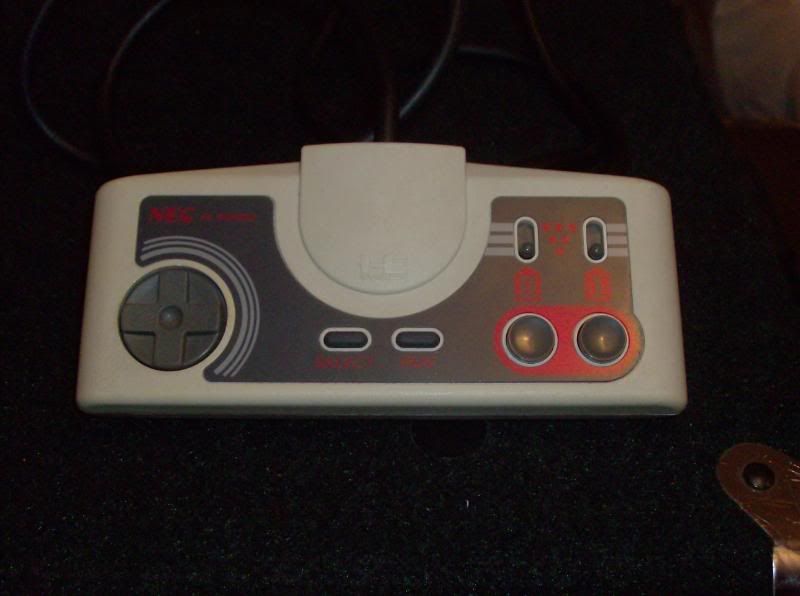
Mine is a standard original PC Engine pad, with turbo switches.  If you haven't seen one before, you'll automatically think "NES" and you'd be pretty much correct.  It is a little larger and more rounded, but is basically a more comfortable NES pad.  No sharp corners here. 


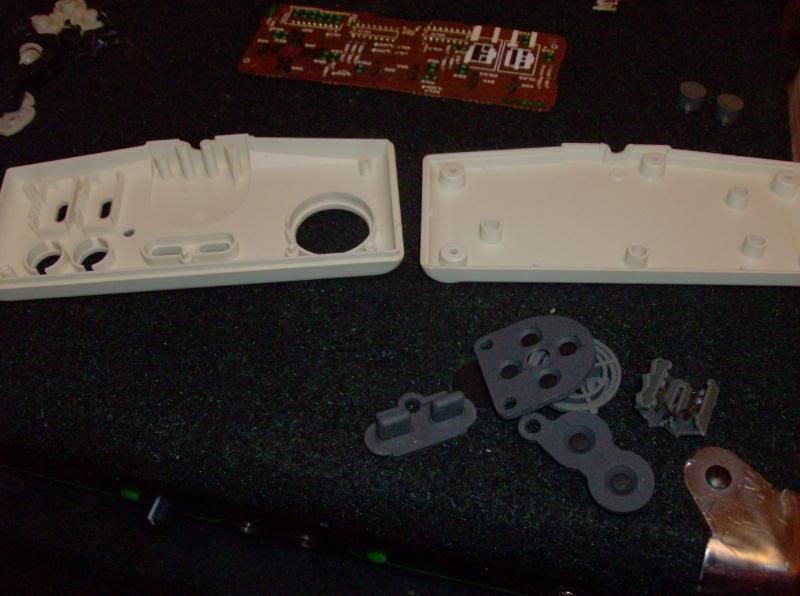
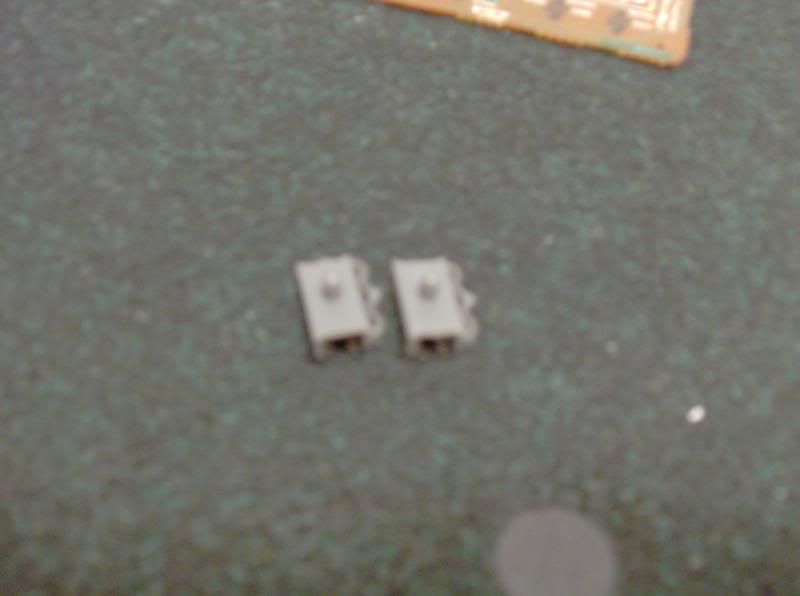
One thing you'll notice is that every rubber pad has a little loop that hooks it to a post, making this a far easier pad to assemble and disassemble than the USB PS pad.  There are just 5 screws around the perimeter, the other posts hold the pads in place.  Right there you can tell that this controller was made to be used; I have 5 of these things over 20 years old and 3 are still going compared to the 2 years that the USB PS pad lasted.  You can see a small black spot off to the left of the front portion of the case.  It looks like the black front is just a faceplate and glued on, and you could potentially push it off if you poked something through this little hole.  There were about 4 different faces for the PCE line of controllers; I guess it made it easier to change the existing tooling making them this way.


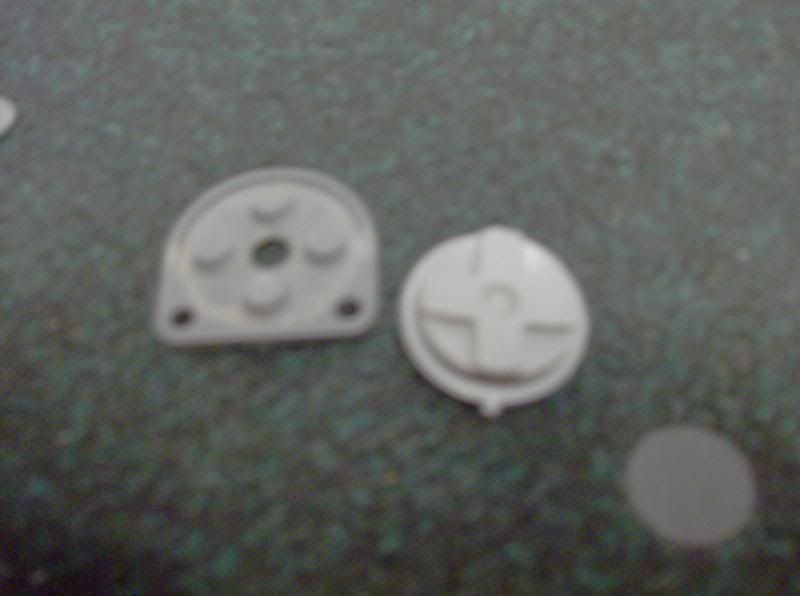
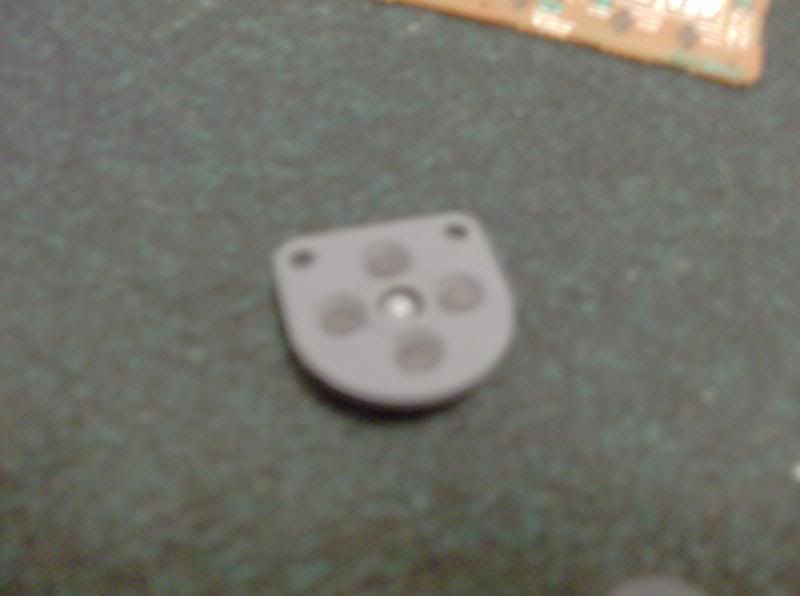
The directional cross.  If you've ever taken apart a Nintendo cross, it is almost 100% identical.  On my Super NES controllers the only difference was the the webbing was underneath the casing rather than exposed, otherwise they look pretty much the same.  The cross sits in that little rubber pad and pushes the black bits down.  Its the same way Nintendo does it and I think Sega's D-pad is the same thing as well.


Same items, from behind and stuck together.  You can see the little nub that the cross rocks on and prevents you from pressing multiple directions at once.


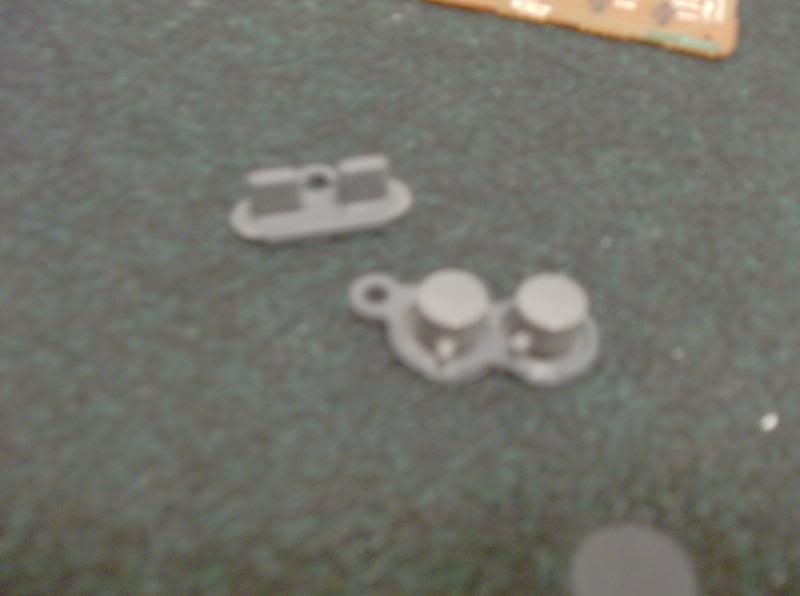
Turbo switches.  Those parts on the right side are little springs which hold them in place so you can easily choose Manual, slow Turbo or fast Turbo fire.


The Run and Select pad, and the I and II pad with buttons on it.  Simple things but you can see the loops which hold them in place and make putting them back in a snap.


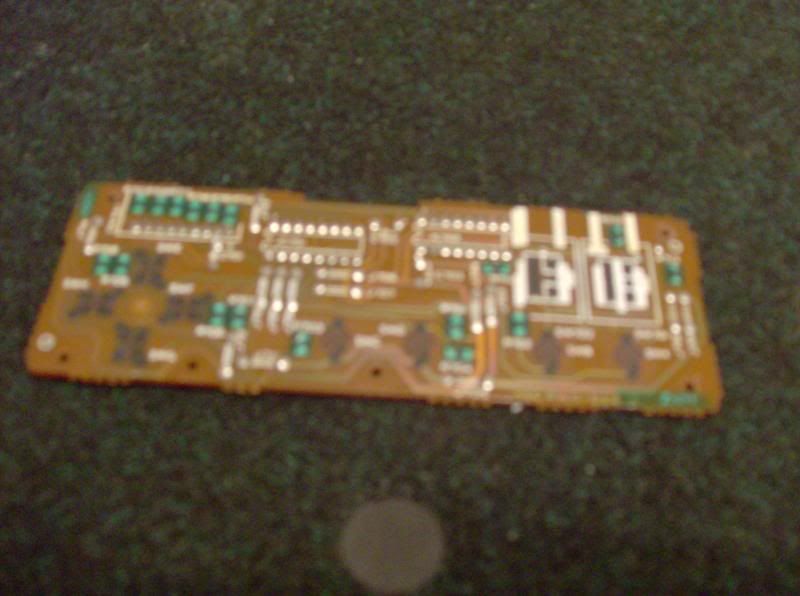
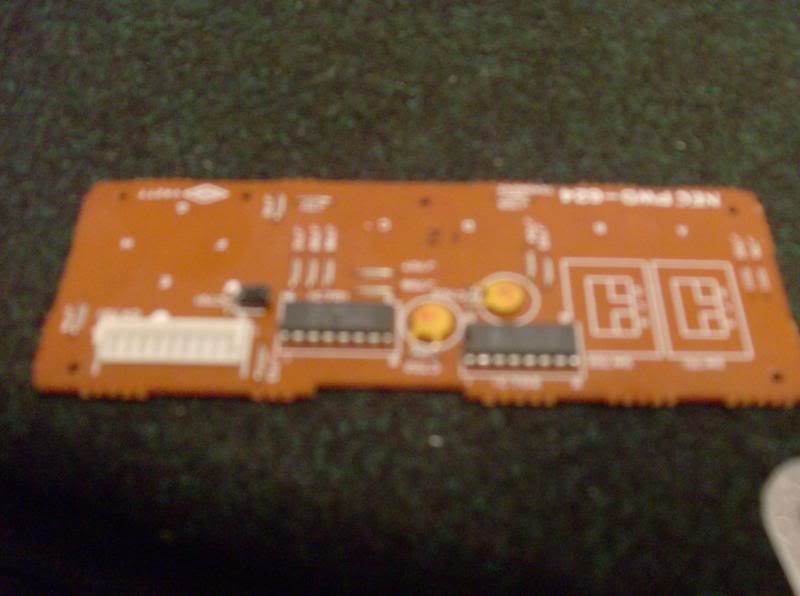
PCE controller guts!  The circuit board is surprisingly large and fills up almost all of the pad, even though it has less than half the buttons of the USB PS pad.  The picture is a bit blurry (my poor photography skills), but all the soldering is done very nicely.  NEC was already an electronics superpower when the PCE came out, and the inside shows their skill at making those tiny connections.  All the soldering is done with a small dab and all the wires are neatly clipped and most even face the same direction.


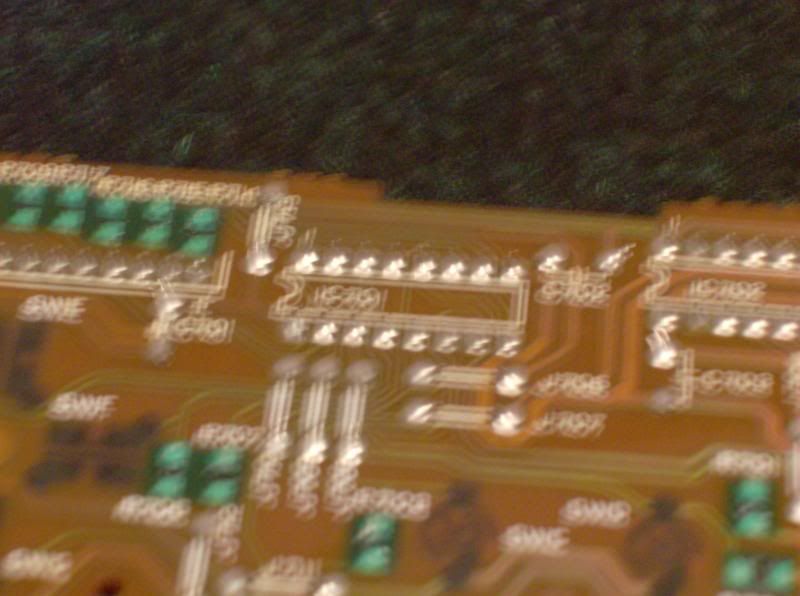
An attempt at a closer shot to better show off the soldering.


The back has a bit more going on.  This time the ICs that communicate with the console are clearly visible.  The white thing at the left is a connector for the cable.  The cable can be slid right off and replaced with a new one or swapped with one from the TG-16, as the only difference is the size of the connector at the end and they are interchangeable otherwise. 

Unfortunately, despite the obvious care taken in assembling this controller, it does not work.  Somehow it got corrupted and now maps different button presses to the same functions.  Parodius is impossible when pressing right also pauses the game.  However, I have 2 PCE and 1 TG16 pad that all work excellently so far, and 1 TG16 pad that needs to be pressed really hard to work.  For pads this old, that isn't too bad and is at least as good as SNES controllers. 

Let me know if you have suggestions for dissection.  I've got an N64 pad around here that would make a good candidate.
everybody wanna tell you the meaning of music
It's neat to see how different controllers are different on the inside, although it's mostly similarities.

I've taken apart some controllers, nothing much, they were all with purpose though. Someone gave me a wired 360 controller but the start and back buttons were sticky due to stuff being spilled on the controller and seeping in, so I took it apart and cleaned those out. Was gonna do the dpad mod but I didn't bother since I had no problems with the dpad. The thing is actually pretty well designed. There are physical constraints preventing you from putting buttons in the wrong way, stuff like that. Also took apart the SE fightstick to put in an LS32 stick and sanwa buttons.

I'm pretty sure that round black thing in that one pic is just plastic.
Waiting hurts my soul...
hmmm, I should have taken pictures when I took apart my broken DS (fatty.)

I'd like to see an N64 controller. Another interesting controller would be a NES zapper, maybe compare it to a super scope 6.
You can kind of see inside a N64 controller if you have one of the transparent ones, but you won't see much like that.

I had to take apart my SNES controller once to fix some stuff, I'd do it again and take pictures but it's in such bad condition already that taking it apart might ruin it permanently and I only have the one.
Silver Hawk!
I've taken apart N64 controllers to clean them before.  The clear ones give you some idea of what is under there but there are little things that you can't quite see.  I did NOT find a way to tighten the analog stick which is what most N64 pads need.
Waiting hurts my soul...
Quote from sunburstbasser:
I've taken apart N64 controllers to clean them before.  The clear ones give you some idea of what is under there but there are little things that you can't quite see.  I did NOT find a way to tighten the analog stick which is what most N64 pads need.

If you could find a way, you could make millions by selling the steps.
difficult and stupidly random
If you want more candidates for dissection, i recommend

1)  NES Zapper gun  (there's probably very little inside, but it would be interesting to see the arrangement.)
2)  Dual-shock playstation controller.  Lots of fun parts:  sticks, motors, etc.  I always wondered how they get the sticks to act as buttons (L3/R3) when you push them in.
everybody wanna tell you the meaning of music
#1: The trigger has a spring that pushes a button. Zapper sends a signal along the wire, the game displays a black screen for one frame and adds a target in white to the screen frame by frame. The Zapper has a light sensor. If it detects a change in brightness during this process, then the game is told a target has been hit. Pretty clever.

#2: The analog sticks sit on a button that gets pushed as you push in. Really, underneath the mechanism looks like a mini flight joystick. It can move in all directions and has a button on top. Rumble is taken care of by motors that sit there, pretty straightforward. Still would look cool to see pics though.
Heavy Metal Powered
Quote from feasel:
If you want more candidates for dissection, i recommend

1)  NES Zapper gun  (there's probably very little inside, but it would be interesting to see the arrangement.)
2)  Dual-shock playstation controller.  Lots of fun parts:  sticks, motors, etc.  I always wondered how they get the sticks to act as buttons (L3/R3) when you push them in.

I have a 3rd party one with smashed D-pad, disassembled it twice in an attempt to fix it ...

But as Enhasa said, not much to see, the sticks sit on a smaller internal d-pad, the only difference is that when you press the stick down you press ALL the directional buttons, well, most 3rd party controllers do like that, i cant use the "original" controllers due to big hands Grin so i never taken one apart to see how they work.

I can attempt pictures in the weekend i think.
Waiting hurts my soul...
Any chance we can get the pictures hidden inside spoiler tags or maybe displayed as thumbnails? Scrolling through them is a pain. Thanks.

Quote from Enhasa:
#1: The trigger has a spring that pushes a button. Zapper sends a signal along the wire, the game displays a black screen for one frame and adds a target in white to the screen frame by frame. The Zapper has a light sensor. If it detects a change in brightness during this process, then the game is told a target has been hit. Pretty clever.


Interesting. Does that mean you could hack the zapper to just send the 'target hit' signal?
everybody wanna tell you the meaning of music
Yeah but it's hairy when you have multiple targets because the zapper doesn't know what frame corresponds to each target -- that's something the game knows. If there's only one target or you only care if you hit something, then it gets easier. Just send the signal every frame and as soon as it's valid, it'll be picked up.

Always important to keep in mind that it's the game that knows stuff. The zapper doesn't know anything and the game never tells it anything (unless you count the targets, but that is visual communication not electronic). For example, if you pull the trigger but you have no bullets, the zapper tells the game but the game knows you can't fire then, so it doesn't display the white on black targets and doesn't go into receiving "target hit" signals mode. So nothing happens.
contraddicted
Quote from Enhasa:
I'm pretty sure that round black thing in that one pic is just plastic.


I'd bet a hundred bucks you're wrong Wink

The backside is pretty empty, so no possible place for an IC. But a lot of signal lanes are heading towards the black blob. I am pretty sure there is a SMD IC underneath that black stuff.
I guess the IC will report itself as an HID device to the PC and as there's nothing else really on the board, it will also function as a kind of keyboard controller. If you want to put this to a new use, just connect some wires to the corresponding connectors and put a switch at the end.

I am still thinking of using some cheap controller and build myself a pedal board. Only problem would be mapping functions to the buttons for non-gaming stuff...

The capacitors on this board are btw harmless. You're right to warn about touching their legs in general, as they can easily hold enough juice to shock you after a device has been unplugged, but here they will hold only 5V or less. If the chip is really really obscure, let it be 10V. (If someone here should ever think of disassembling a CRT, for the love of God don't do it!)
everybody wanna tell you the meaning of music
LOL I mean the black thing itself is just plastic, used to shield whatever is underneath it perhaps. Misunderstanding I guess. Should have used a smiley.
contraddicted
Quote from Enhasa:
LOL I mean the black thing itself is just plastic, used to shield whatever is underneath it perhaps. Misunderstanding I guess. Should have used a smiley.


You guessed right Grin
I didn't catch the irony.
Edit history:
DK28: 2009-10-16 11:46:03 am
General Kong - Bullets and Bananas
Edit: Picture problems.  I'll have to fix it later.
Silver Hawk!
I've got another day off from work tomorrow.  I think I'll tinker with an N64 controller. 

I didn't think that the little caps in a controller would be a huge danger, but I figured I'd put the warning out.  Getting a zap, even a small one, is absolute shit.

If anyone has a dead controller you don't mind being dissected, PM me.  I'll pay the shipping and throw some photos up once I get it opened.

I've got dead TG-16s as well, but those really aren't very interesting as they've already been pretty heavily cannibalized. 
General Kong - Bullets and Bananas
Okay, 56th attempt.  Tongue

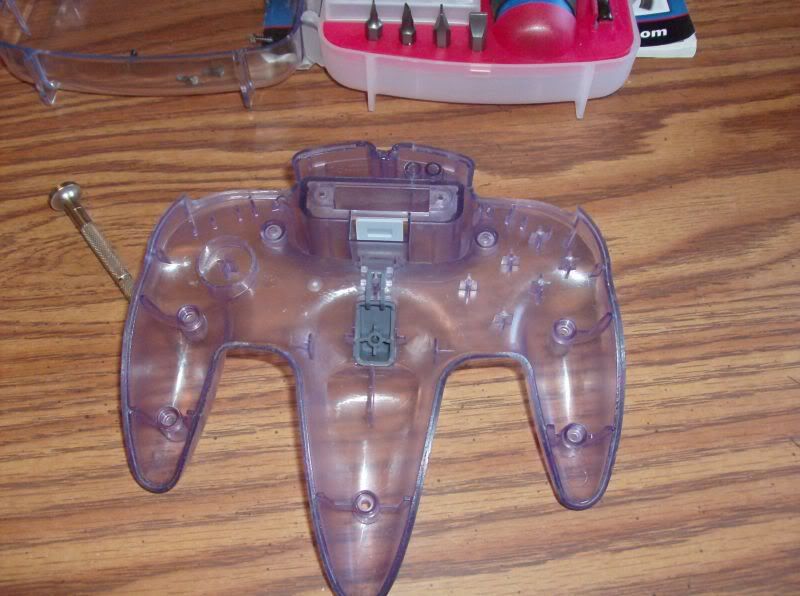
It was mentioned and it's what I use, so here is one of the N64 transparent controllers.


Silver Hawk!
Nice shots, DK28.  Mine is the same thing.


The back is fairly empty.  The Z trigger is attached on a hinge and swings around rather than being a simple button that just moves down an up.  Makes is a little like a real trigger, though having used both the actual feel is still pretty far off.


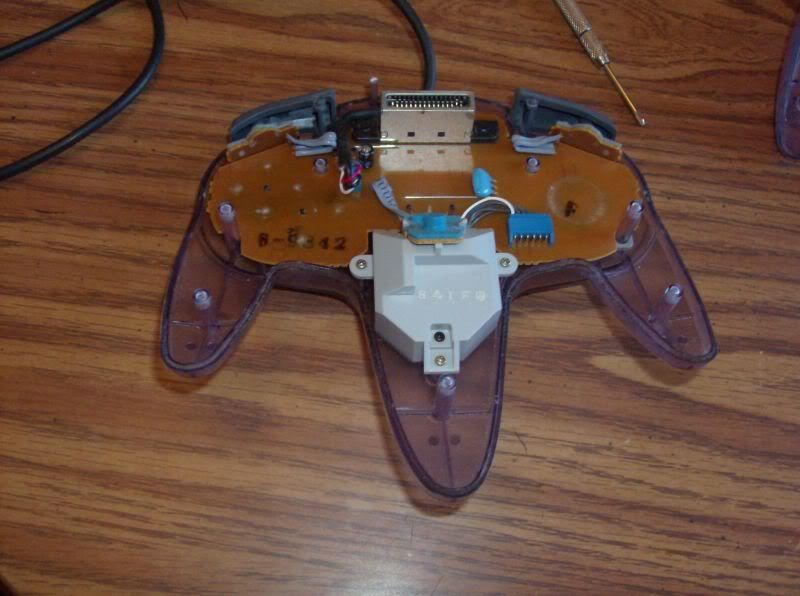
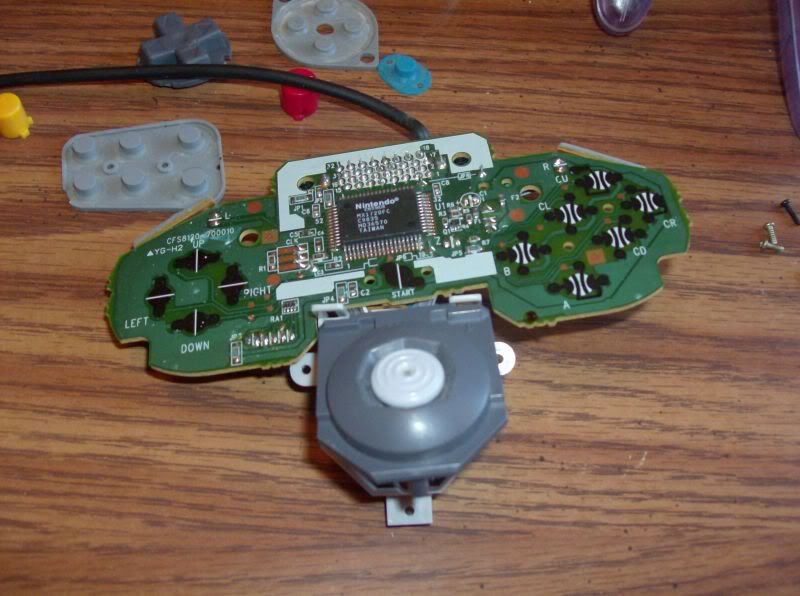
The guts take up a lot of room.  The grey box is the analog stick box.  Everything is wired to everything else in some fashion, so unlike the PCE controller it does not appear feasible to remove the cable without cutting/desoldering.


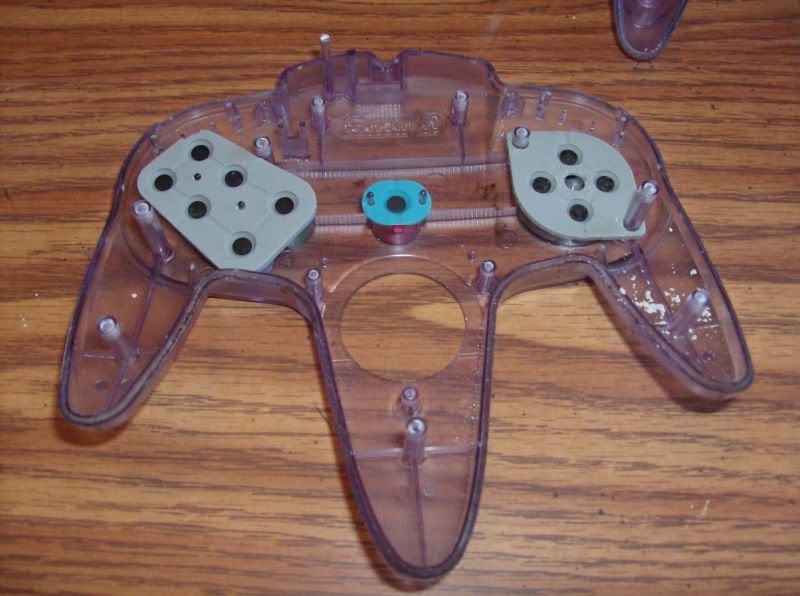
Take the guts out and you have nothing but the usual rubber pads.  Each one has holes to stick onto posts, but nothing really interesting here.


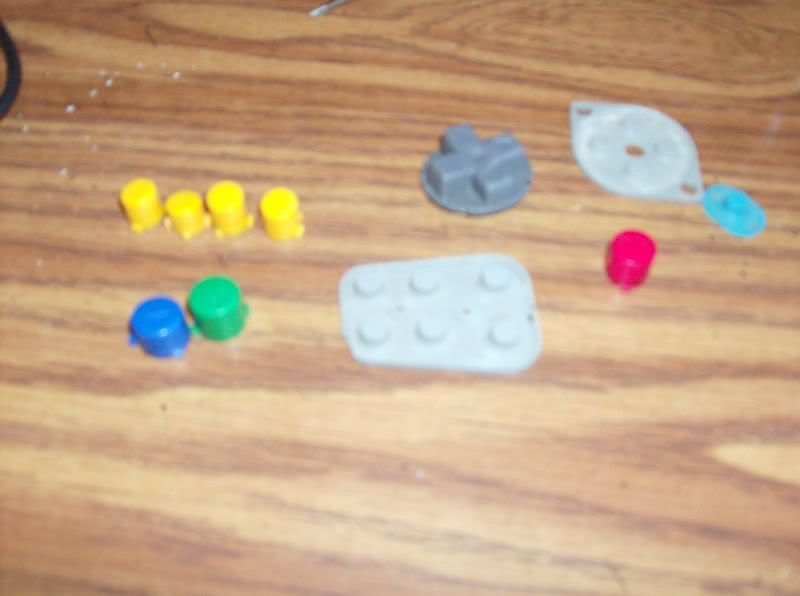
The buttons themselves are somewhat more interesting.  The different C buttons have slightly different heights, so that when mounted on the controller which does not have a flat top they are all even or nearly so.  In addition, each button has a different pattern of flanges on it so putting them back in the right spot is very easy.  The webbing on the directional cross is clearly visible, making it look even more like the PCE or other crosses.


The analog stick.  I've taken out one screw and the spring underneath is pushing against the stick, so it is actually as far in as it can go in this shot.


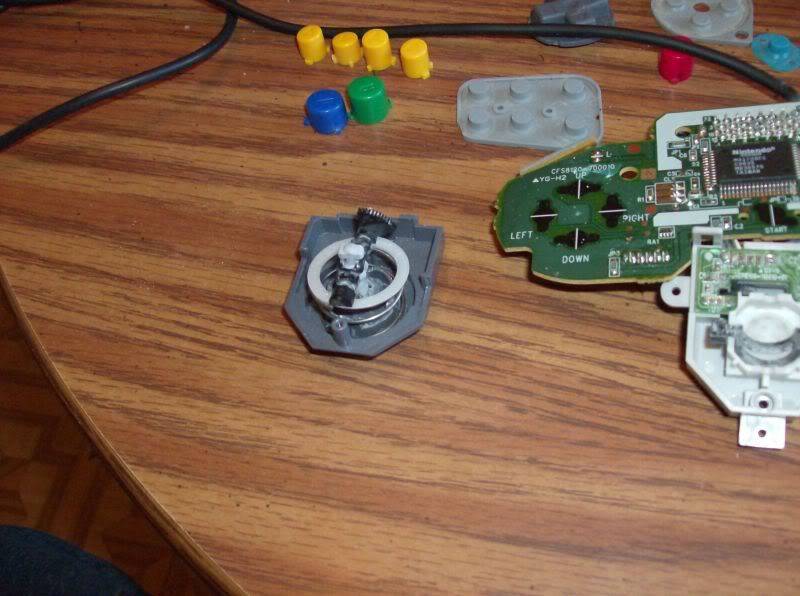
The analog stick is, mechanically, much simpler than I expected.  The stick is held in position by a spring, and the bottom moves small gears.  The black thing going across the stick in this photo is one of those gears, in this case the X-axis.  I also holds the plastic washer in place.


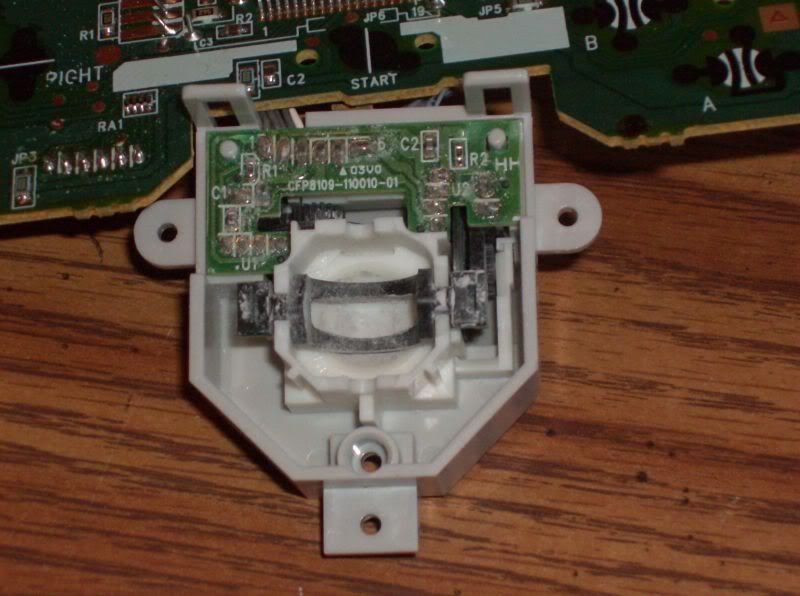
When the stick is removed, this is whats inside the box.  That little cradle is the other gear, the Y-axis.  I have no clue what all the white powder crap on the stick is.  The circuit board can be lifted out, but is wired to the back so it is not entirely removable.


What the stick itself looks like disassembled.


The cradle can be removed, but there isn't much to see.

Unfortunately, even seeing how the stick works I wasn't able to tighten it up.  Stretching the spring does not keep the stick centered, even though the excess pressure should help.  I can also see a problem in that the whole thing is made of very small, thin pieces of plastic.  The digital portions of the controller seem to be very well made but the analog stick appears fragile by comparison.  The spring itself is VERY tight; I can't figure out why the stick is so loose even after tightening it.  The analog stick on the Gamecube seems much more durable compared to the N64; I may take mine apart to see if there is any major difference in design.
Waiting hurts my soul...
maybe it would give you some insight to take apart an N64 controller that was still tight.
Silver Hawk!
Quote from ZenicReverie:
maybe it would give you some insight to take apart an N64 controller that was still tight.


Does such a beast still exist. Shocked
It's a BIG HEAD!
I have an controller that has the stick still alright Tongue Anyways, my GC controller died in 2 weeks after getting it (used one) (Or rather, the stick) And I put it to pieces and never be able to get it back to look like the same. Lol. Then I got another used one. I died for the same fucking reason in 2 hours(!). I was slighly annoyed. (read as taking a hammer and blowing it to pieces). I now has a good controller, but me thinks I have the pieces of the broken ones in somewhere. (Why?!)
contraddicted
Quote from sunburstbasser:
Quote from ZenicReverie:
maybe it would give you some insight to take apart an N64 controller that was still tight.


Does such a beast still exist. Shocked


At my mom's basement, unless it untightened itself over time or someone secretly stole it to play with.
If anyone really cares I have a disassembled DS, as well as a disassembled N64 and NES console I could try to take pictures of.
Freelance slacker
Back in the day I thought I was soooooo cool when I switched the backs of my differently coloured N64 controllers. It also led to a dispute with my little sister when I swapped the back of hers with one of mine (hers was the coveted black colour). She felt that because a piece of her controller was on both, they should both be hers. When I told her that wasn't gonna fly she demanded I change them back because she couldn't stand the idea of me having a piece of her controller. Not only did I not get a black backing, but I had to screw and unscrew all those tiny goddamn screws again. Especially the ones inside the controller/rumble pak slot, what the hell is with that? A smaller screwdriver would have been nice.

I also remember lots of white powder around the controller stick. Even visibly from the front. Is it paint or plastic residue from all the grinding?

I have 4 GC controllers and 2 wavebirds, one of which is used. The X/Y/B buttons are a little sticky on one, X/Y sticky on another. One of those two also has a problem with the C stick that tends to always send input as if it is leaning slightly to one side. Does pressing the C stick down while shielding in SSBM trigger a sidestep? I remember at one point the controller was functioning well enough that it wouldn't mess with my friend's play, but whenever he pressed shield he would immediately sidestep. Holding shield resulted in consecutive sidestepping. For laughs he just held it down and it took me 5 seconds to finally land a hit on him. This suggests the control stick was screwy, which is why I ask about the C stick. As I recall the control sticks were okay on all of them except the used wavebird which didn't work right as soon as I got it. To this day I have at least 3 perfectly functional GC controllers/wavebirds. Well I guess I don't technically have the wavebird.. that thing has been lost for years.